Fluent API
Remember I mentioned how I’m going to show you how to programmatically apply very cool ignore regions and floating regions and so on to different kinds of elements through code?
Well, let me show you why that is so important!
So far a bunch of the demos that you’ve seen in relation to the UltimateQA.com homepage has actually been in layout mode. The reason I was doing it in layout mode is because if I do it in strict mode, you can see the number of differences that come up.
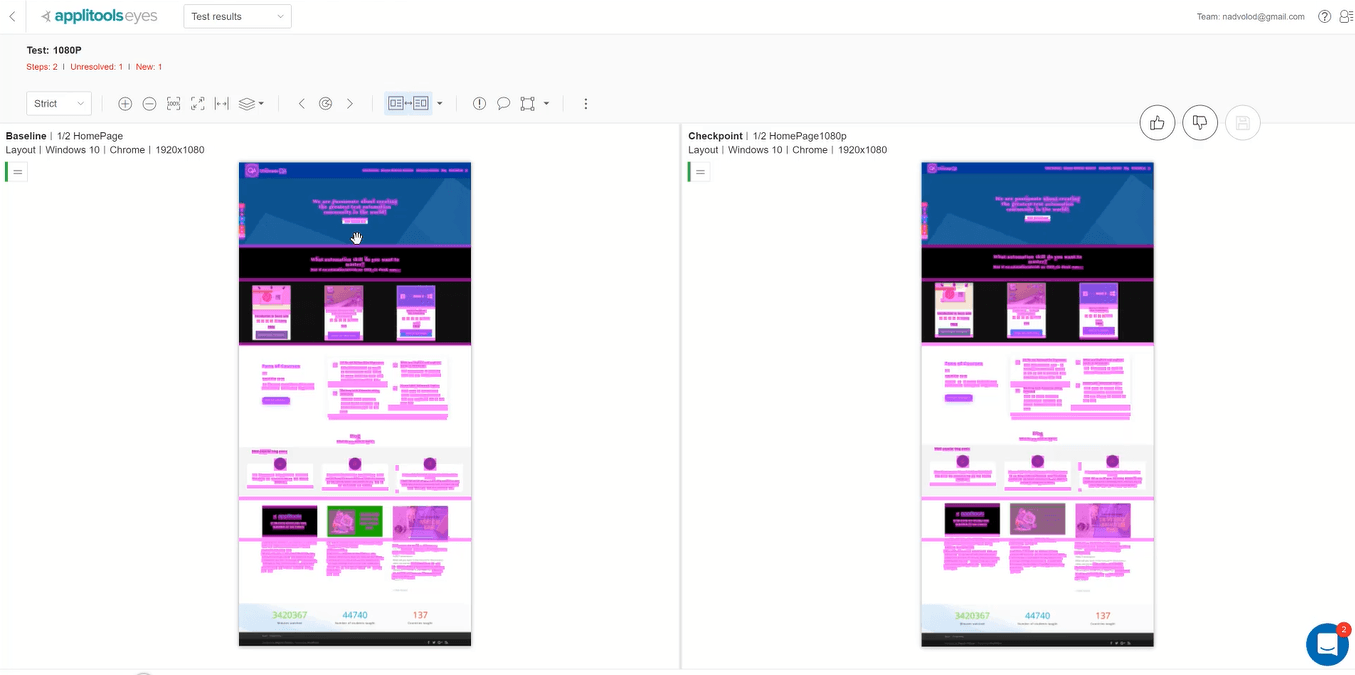
Well, to be fair I actually have made some recent updates to the page. Let’s put them on top of one another and see if you can tell what the updates were.
So, if I zoom in here, don’t need to be so close, if I zoom in let’s see if you can tell what the updates were without having the diffs. Here’s the baseline versus the checkpoint.
So, you can see that I’ve obviously made the header smaller. The reason why I made the header smaller is you’ve already seen the bugs that I have where the text on the right-hand side begins to run into the text on the left-hand side.
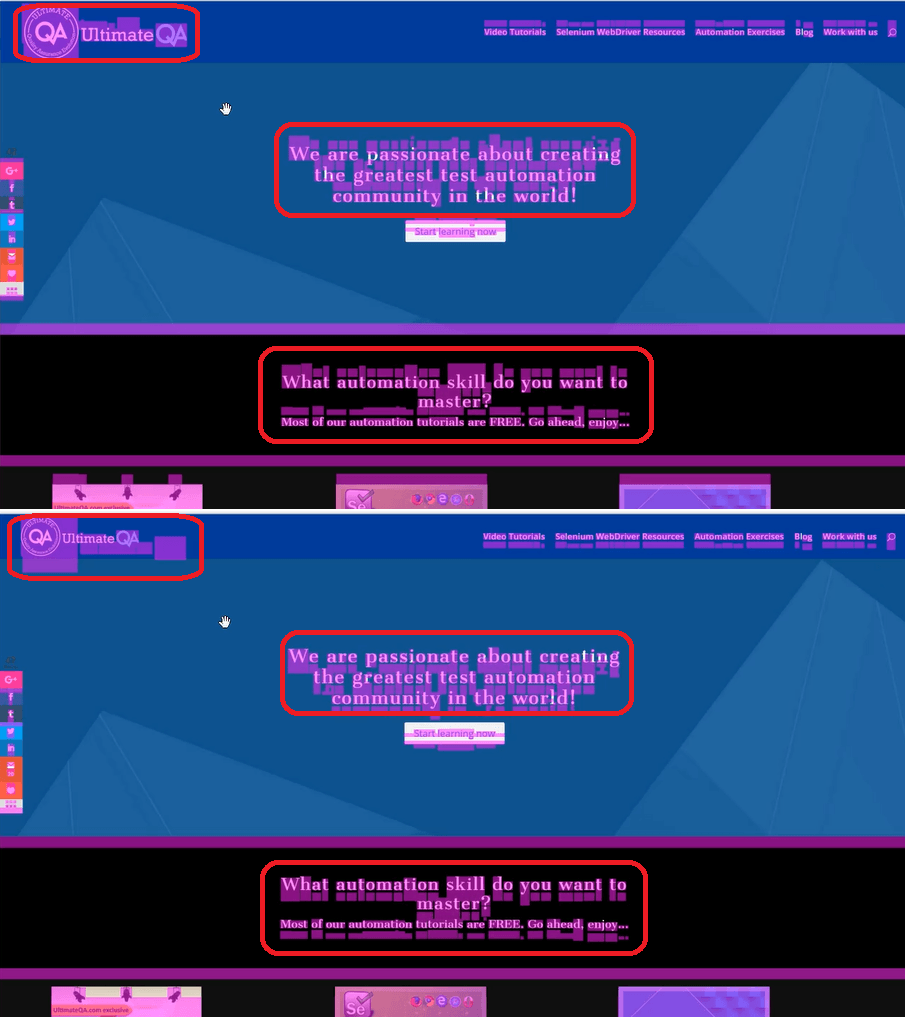
Also, I found that in some places the header actually overlaps on top of some text on my different pages. It was kind of annoying. In the meantime, I’ve made it smaller.
As a result, everything has shifted down. And, so, of course, that shows all of these differences. Which may be okay depending on your use case, but in my use case, all of these differences, to be honest, are irrelevant.
Because my page is responsive and I don’t mind if the content shifts down. What I care about is when stuff in here changes or stuff in here changes.
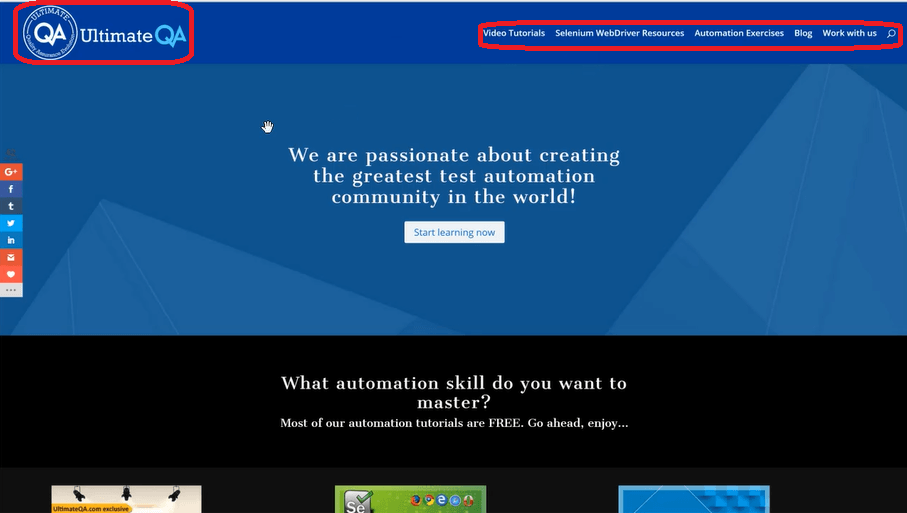
Or as you’ve seen, I’ve had issues with problems over here, right? On different resolutions, stuff starts to kind of merge on top of each other. Those are my problem areas. This is my problem area, my header is my problem area.

These things here are not my problem areas because they’re dynamic. My content always changes, every single day or every couple of days there is a new content. As a result, this changes and it shifts up and shifts down.
Strict mode does not need to be applied here, or here, or here… or here.

Strict mode really needs to be applied at certain places. That’s where automated regions come into play.
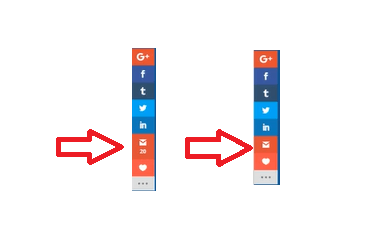
The other cool thing I want to show you is over here. Take a look at what’s going on with this social sharing toolbar.
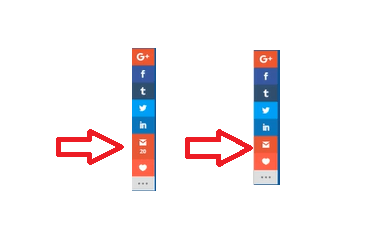
So, what you can see is, I’ve actually recently had twenty email shares appear here.
[boop boop]
I’m killing the social sharing game, right? No, I’m joking.
But, it’s kind of cool that I’m getting more social shares which are fantastic. So, if you want to help out and change all of these to have more social shares. Go ahead and share the page! I wouldn’t complain!
Then I’ll have to deal with that problem in my visual validation tests.
But, so that has changed, right? You can see that the toolbar has changed in size. And, not only that, but it’s going to continue to change in size as these gain more shares.
Also, even here, you can see that right regularly I’m getting more shares. So, when the baseline happened now this number has changed. So if I do the diff, of course, the differences are spotted out.
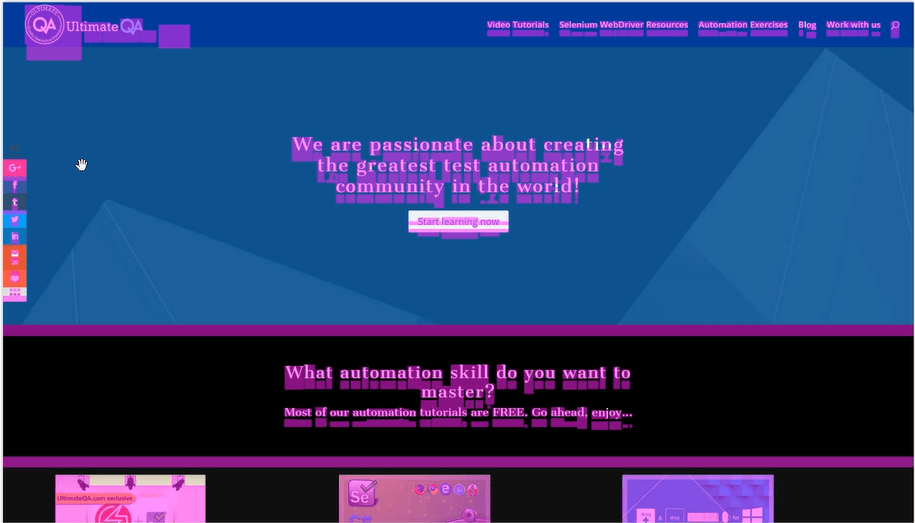
In this case, what do we want to do? Right? The question is, do we care about the changes here? And the answer is, no, I don’t!
I actually want to ignore this area and add an ignore region to here. So that, it doesn’t matter how this changes.
And, I want to apply strict regions to my header and my footer. Because I really care what happens there, because I’ve seen bugs there.
Really what I’m doing over time is, I’m identifying the page, I’m identifying the changes. I’m identifying what is important to my page and which kinds of regions should I apply to different areas of the page.
Knowing what I’m learning along the way, I can now programmatically make that happen. Let’s go take a look at that!
So, what I’ve previously have been doing in all of my test methods. I’ve been doing “StitchEntirePageThenCheck”.
So, previously, you’ve seen that I was doing all of these methods and then I was doing “Eyes.Check” and then I was saying “Target.Window().Fully()”, so that it checks the entire page.
However, a question you might encounter is, what do I do when I need to do multiple things on a check? Right?
You can’t, if you do two different checks, there’s going to be two different checkpoints. So, what we need is the capability to do one giant checkpoint. That’s exactly what you see right here now.
I’m doing an “Eyes.Check” and I’m supplying the name of the test case. Then I’m using their fluent interface to create an endless string of commands.
So, for example, the very first thing I’m doing is, I’m saying check the entire page. Then, I’m doing “.Floating”. “.Floating” allows me to specify a floating region.
And, what I did was, I actually identified the “SocialSharingToolbar” which if we peek at this definition, you can see that here is my “SocialSharingToolbar”.
It’s a super long class name, but it works, it’s right there. So, I’ve identified the “SocialSharingToolbar”
And then, after that, what’s important is actually to set an offset, to set a rectangle around the floating region.
I’ll show you why that’s important, but what this rectangle does is, it allows this element to float inside of this rectangle.
I’ll show you how that looks once the test is executed.
Next, not only did I need to apply a floating region, I needed to apply a layout region to our “SocialSharingToolbar”. The reason why I needed to apply a layout region is because the “SocialSharingToolbar” is going to change.
So, if it is set to a strict region, even if this is set to a floating region but we get this behavior right here.
Then, it will still be pointed out by Applitools because it’s still in a strict region.
So, what I need to say is really all I care about is the layout, that, you know? There are these buttons here, these elements in that, in this specific arrangement. And, not anymore, and then point out the differences.
I don’t care that this expands or doesn’t expand. So that’s why I applied a layout region and a floating region for this one element.
Then, finally, I applied a strict region to the header location. Because of that bug that we’ve had where the text was being concatenated and slopped, we know, on top of each other.
So, that was the problem.
And, we can continue to add more regions here in this manner, you know? If we want an ignore region, we can apply an ignore region. We can apply content regions, we can apply a layout region, we can do strict’s. We can set timeouts, and so.
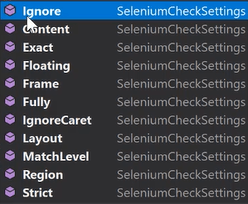
All of this is simply part of this method “ICheckSettings” parameter that can be continued, continually expanded.
So that’s really cool, right?
And, so, when you run this, something very cool happens! And, I’m going to show you that next!
How programmatic regions look
Here it is!
The beautiful masterpiece of programmatic regions applied to the page.
What you can see is, it looks exactly as I’ve shown you before, but you’ve got this strict region here. You’ve got a strict region here, right? When I hover over it, you can see it’s applied to the entire toolbar.
That was a simple element identification.
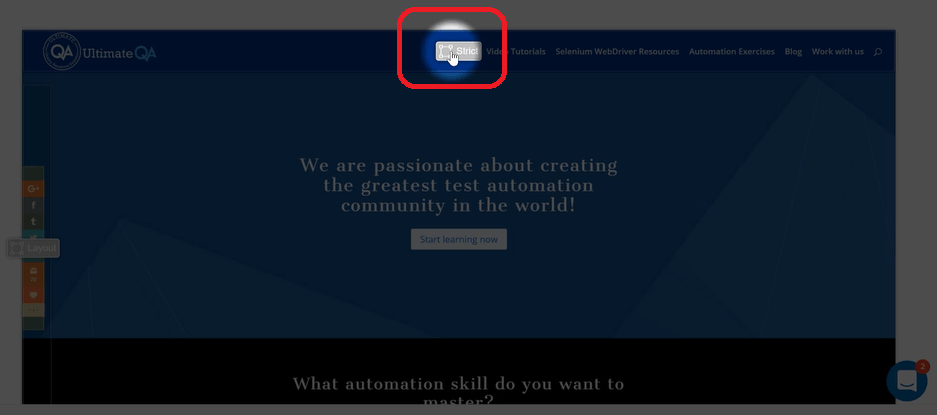
Then, I applied a floating region. Here is the floating region, you see this box, that is the big box?
Look! Let’s scroll down to see where this floating region goes. It goes all the way to the bottom of the page, and even further, which is fine. No big deal.
But what I’m saying is, this toolbar is allowed to float in any area here. And, that’s okay. Don’t identify it as a problem.
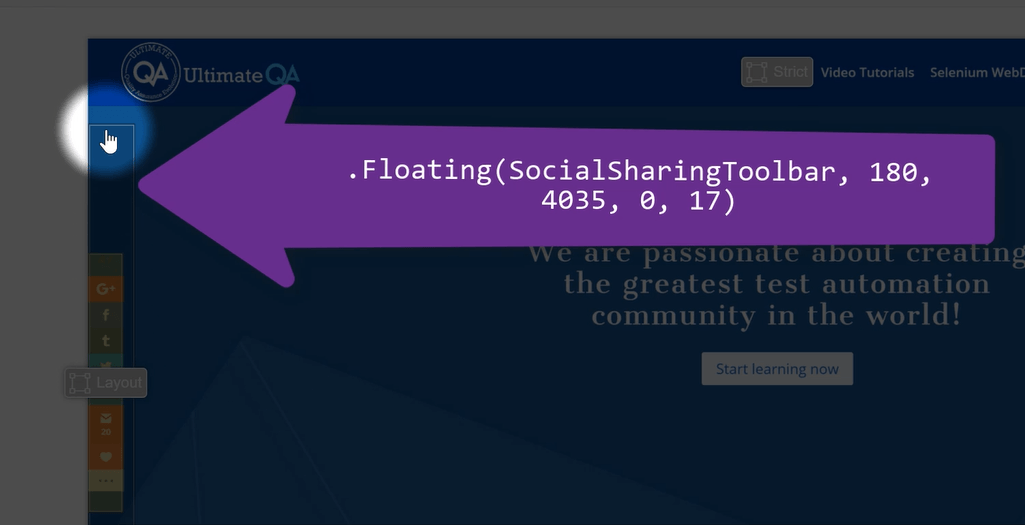
Well, how did I find the size of this floating region? You might be asking.
Well, let me show you. So, we’ve got the ultimate QA home page here, right? And, we’ve got this element.
So, I wanted it to be able to scroll in the entire page. You see why I wanted it to be able to scroll the entire page? Because a screenshot might be captured here and then this element might be visible here.
This is why I wanted to be able to scroll the entire page, okay?
So, what I did was, I actually opened up the page source and I found the page container. I guess you can apply it at the body level, as well.
I found the biggest element that I could. And, actually hovering over it, you can already see its dimensions, right? I can’t move off but, right above the console, you can see the dimensions, right?
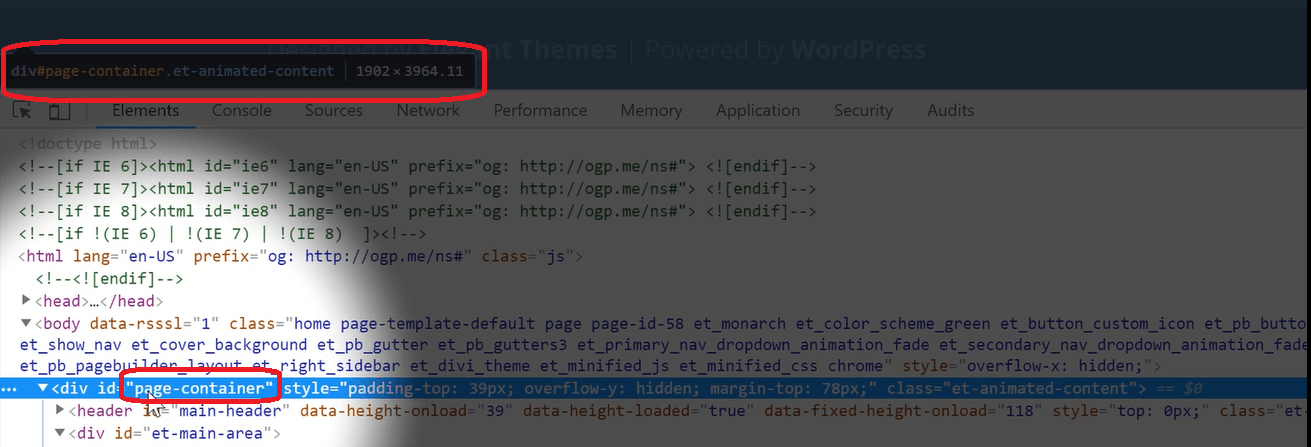
1902 by 3964, so, you can see it right there. But, if you wanted to do it in another way, you can actually select that element, open up the console and then you can do as I did right here.
You can do “$0” which means work with the currently selected element. Then you can do “scrollHeight” and then if you hit enter, it will tell you the value, and so you can use that value.
The other thing you need to do, right? So that figures out the height. How about the other values?
So for the other numbers, you can see max left and max right offset, this one. How far can it go to the left? And, how far can it go to the right?
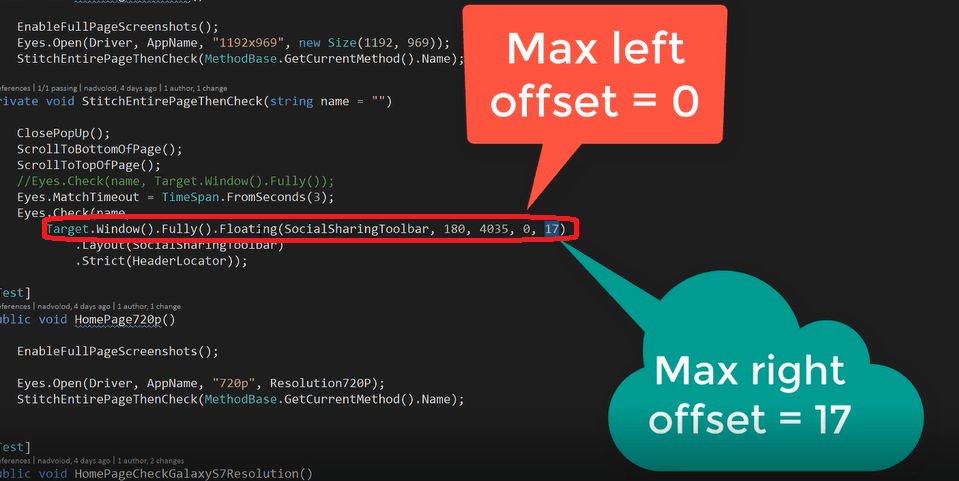
That was just a simple, you know? Guessing I just supplied, it can’t go to the left anymore and I just said 17 pixels is reasonable for it to go to the right. And zero pixels for it to go to the left.
So, that’s how I set up those values. This one I actually might have applied at a higher level than I showed you in the console. I might have applied it at the HTML body, but maybe it’s worth bringing it down.
But, either way, it’s okay. I just wanted to show you how I get those values.
So, we got that floating region. Then you can see that not only that, but we have a layout region applied to this element. So, the layout region again, as I told you, is, all of this can be in layout mode.

And, then, this, actually let’s do it in strict mode to show you what happens that even though this element has changed compared to its baseline. It will not be affected because we’ve obviously applied a layout region to it and so it can have any numbers inserted in there as it wants. Also, it can shift around.
So, watch this!
See that? And, if I highlight the differences, the differences are not highlighted here. Watch! See that?
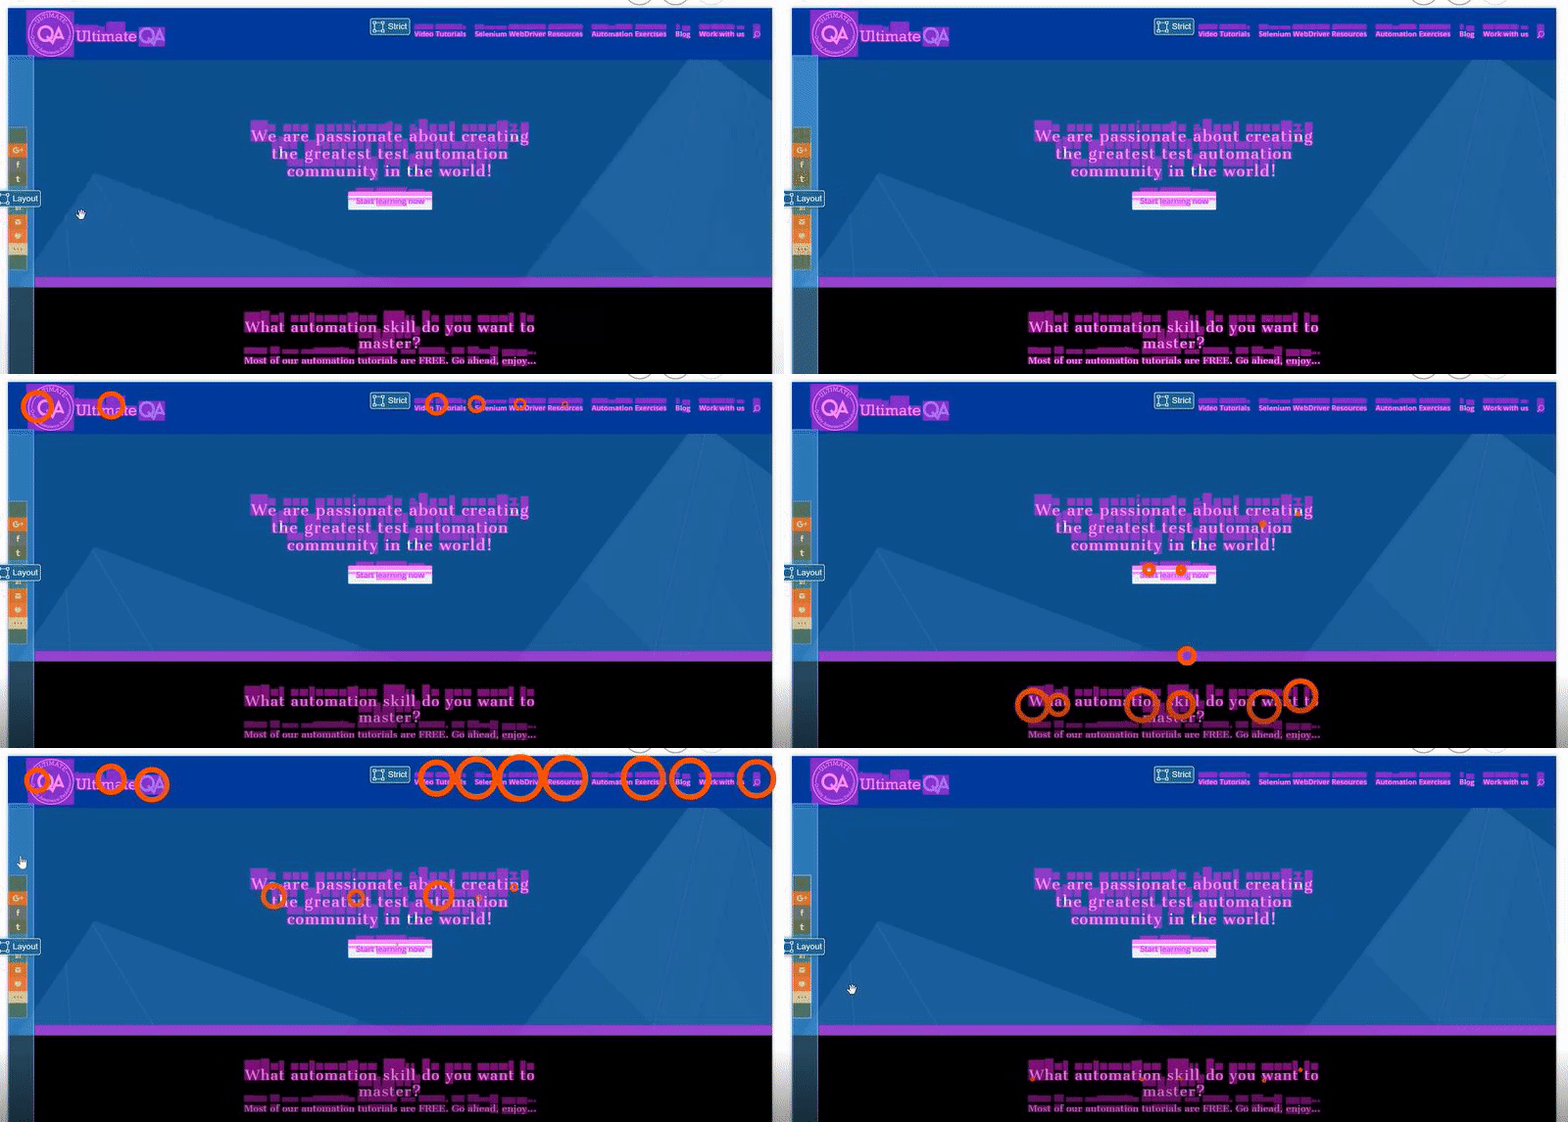
The differences are `highlighted everywhere except here, because we’ve applied the appropriate regions, saying “hey! It’s okay for this element to float and be inside of a layout region.”
So, how awesome is that? Right?
Programmatically we were able to make this happen. Now, from this point forward, actually what I can do is, I’m going to keep it in layout mode.
Because again, as I said, the rest of the stuff I don’t care. I care about this one being in strict mode. And, because I changed the size of the toolbar, I need to set a brand new baseline.
So, I’m going to go ahead and switch to this and I’m going to give this a thumbs up.

So, now, from this point forward, this will be my new baseline that will be used against checking all of my future iterations of the homepage in 1080p resolution.
Your turn

Were you able to programmatically apply ignore regions?
Let me know by leaving a comment below.
