Introduction
Azure DevOps Pipeline is a cloud-based CI/CD platform from Microsoft that allows you to automatically build, test, and deploy your applications. It supports integration with a vast array of tools and frameworks, including Playwright.
One key feature of Playwright is its customizable reporting. Reporters in Playwright define how the results of your tests are reported. Playwright’s flexibility allows you to integrate with various custom reporters, adjusting the reporting format to fit your specific needs. This can be especially useful when integrating Playwright with a continuous integration/continuous delivery (CI/CD) tool like Azure DevOps Pipeline.
Difference between Build and Release Pipelines
The Azure DevOps provides two different types of pipelines to perform build, deployment, testing, and further actions:
- A Build Pipeline is used to generate Artifacts out of source code. It can also be customized using .yml files.
- A Release Pipeline consumes the Artifacts and conducts follow-up actions within a multi-staging system. It is also known for the fact that it can be customized only through the UI interface.
Build Pipeline
Release Pipeline
Reporters
Let’s look at the following reporters that are free and quick solutions
PublishHtmlReport task
This option allows you to display the report on a separate tab immediately after the end of the test run:
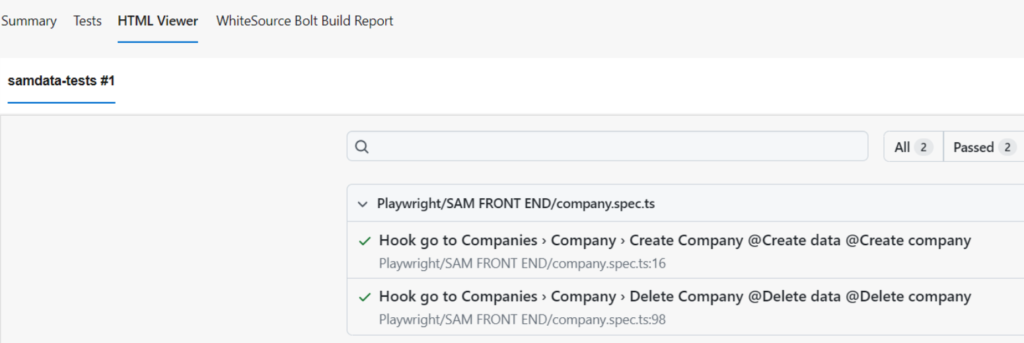
Setup:
- Put the following lines of code into your azure-pipeline.yml file
playwright.config.ts
import { defineConfig } from '@playwright/test';

export default defineConfig({

  reporter: [['html', { open: 'never' }]],

});
Pros:
- You don’t need to take any additional actions, just open the tab with the report on the side of the Job “Summary” tab
Cons:
- This report is just a static HTML page where you can not view attachments
- Works only for Build Pipeline. Does not create a separate tab on Release Pipeline
This option allows you to display the report on a native “Tests” tab immediately after the end of the test run.
JUnit report
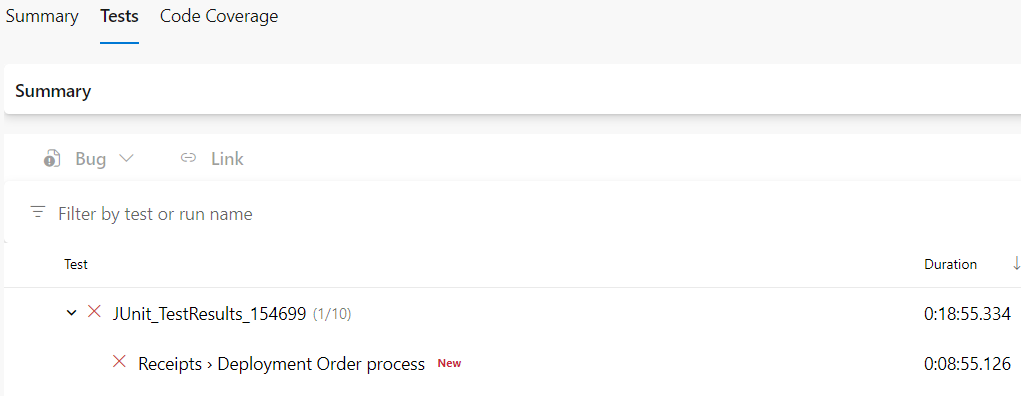
This option allows you to display the report on a native “Tests” tab immediately after the end of the test run.
Setup:
- Put the following lines of code into your playwright.config.ts file
playwright.config.ts
import { defineConfig } from '@playwright/test';

export default defineConfig({

  reporter: [['junit', { outputFile: 'results.xml' }]],

});
Pros:
- You don’t need to take any additional actions, just open the “Tests” tab with the report
- Native support in Azure DevOps. This means that it works on both Build and Release Pipelines
- Ability to automatically build trend graphs
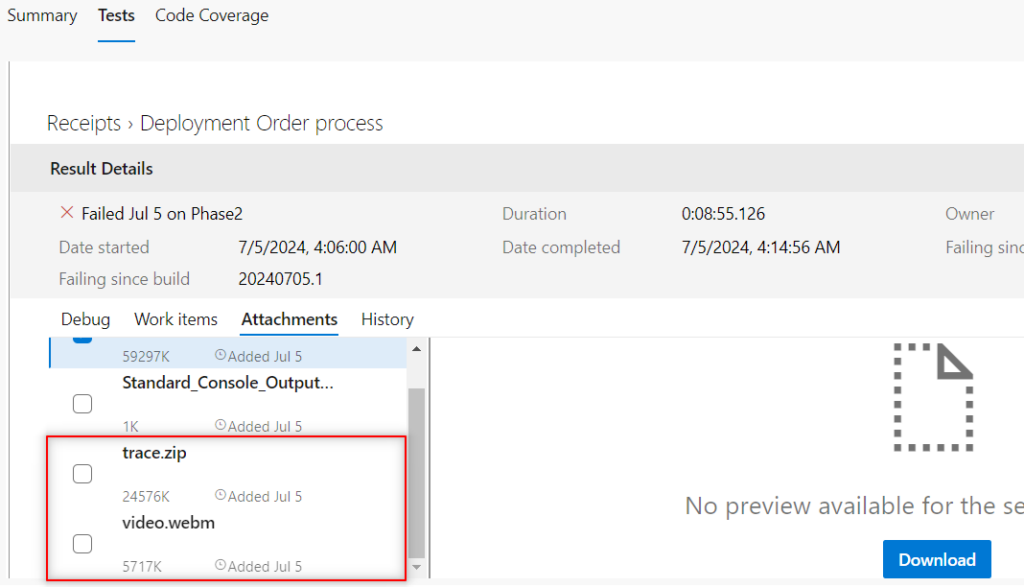
- You can download attachments from a report for every single test (videos, screenshots, trace logs)
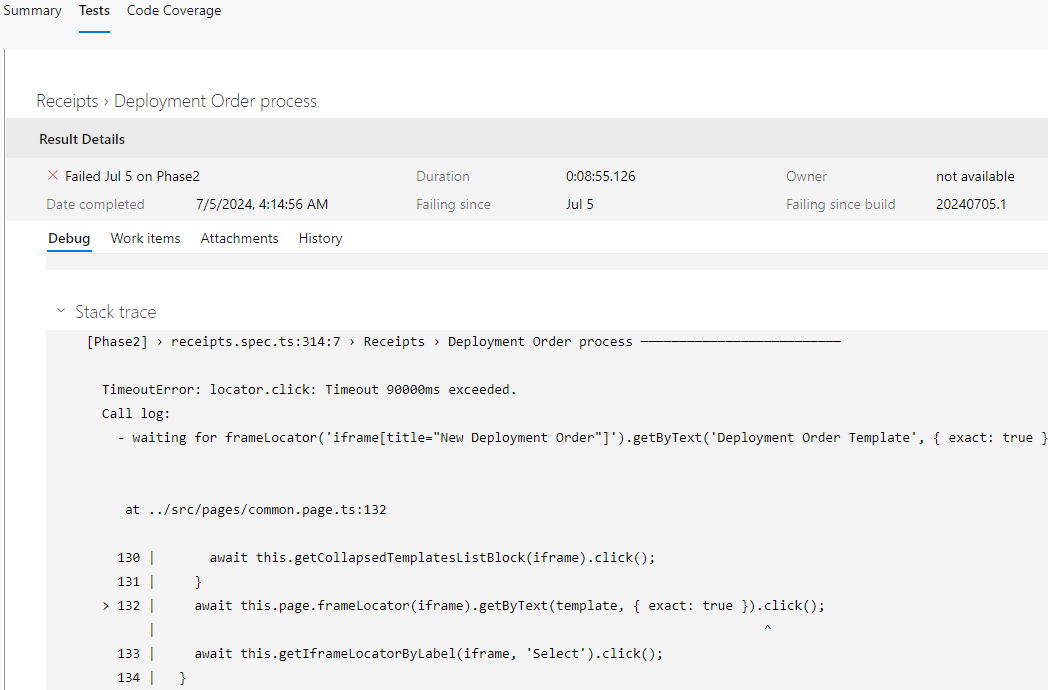
- It provides descriptive and detailed logs for the failed test
Cons:
- You can not download all attachments for the entire report in one click, only one by one
Playwright report as an artifact
Using this option you should download an artifact (whole folder) that contains an HTML report and all attachments. Then open the index.html file
Setup:
- Put the following lines of code into your playwright.config.ts file
azure-pipeline.yml
- task: PublishPipelineArtifact@1
  inputs:
    targetPath: playwright-report
    artifact: playwright-report
    publishLocation: 'pipeline'
  condition: succeededOrFailed()

Pros:
- You get all the benefits of Playwright HTML report (screenshots, videos, trace logs)
Cons:
- Requires additional steps to view the report
- After each run, you need to download the report locally, which can take some time and can also take up space on your computer
- Does not work for Release Pipeline as an artifact is part of the Build Pipeline
VSTest reporter plugin (link)
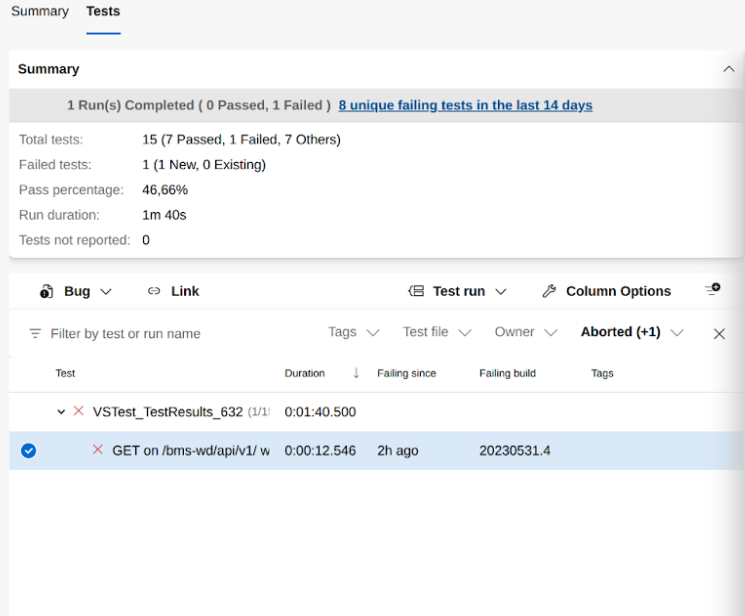
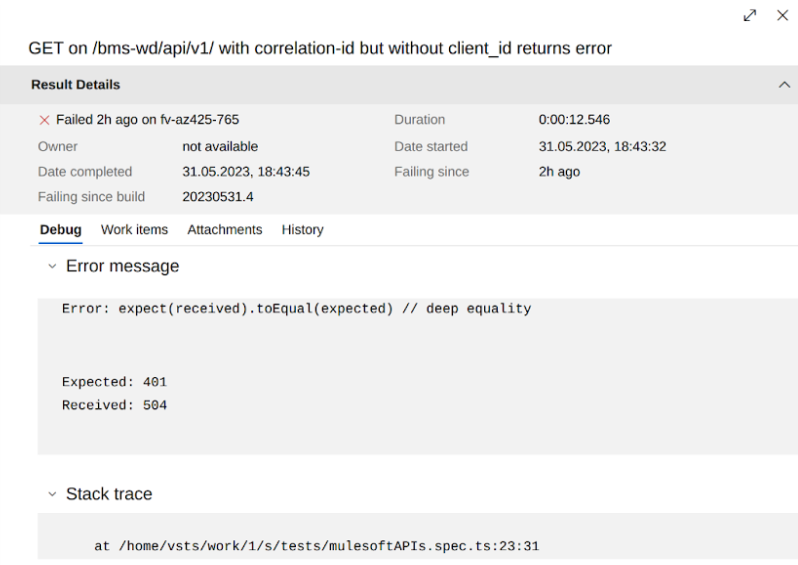
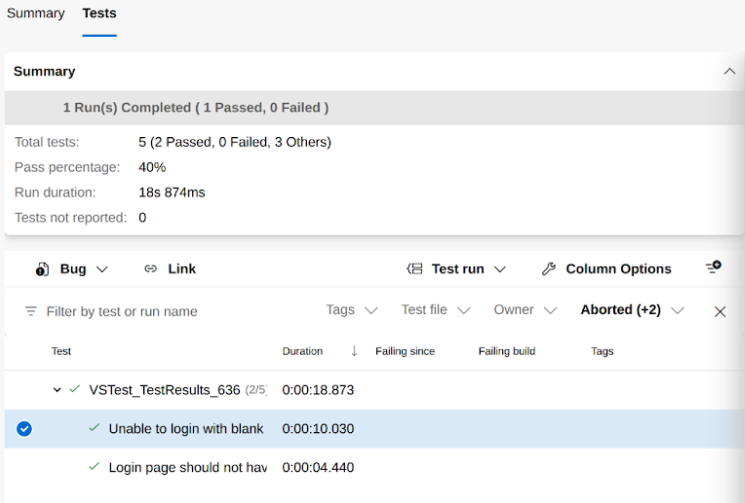
This option allows you to display the report on a native “Tests” tab immediately after the end of the test run like in the JUnit report
Setup:
- Install the following package playwright-trx-reporter
- Put the following lines of code into your playwright.config.ts file
playwright.config.ts
import { defineConfig } from '@playwright/test';

export default defineConfig({
  reporter: [['playwright-trx-reporter', { outputFile: 'results.trx' }]],
});
Pros:
- You don’t need to take any additional actions, just open the “Tests” tab with the report
- Native support in Azure DevOps. This means that it works on both Build and Release Pipelines
- Ability to automatically build trend graphs
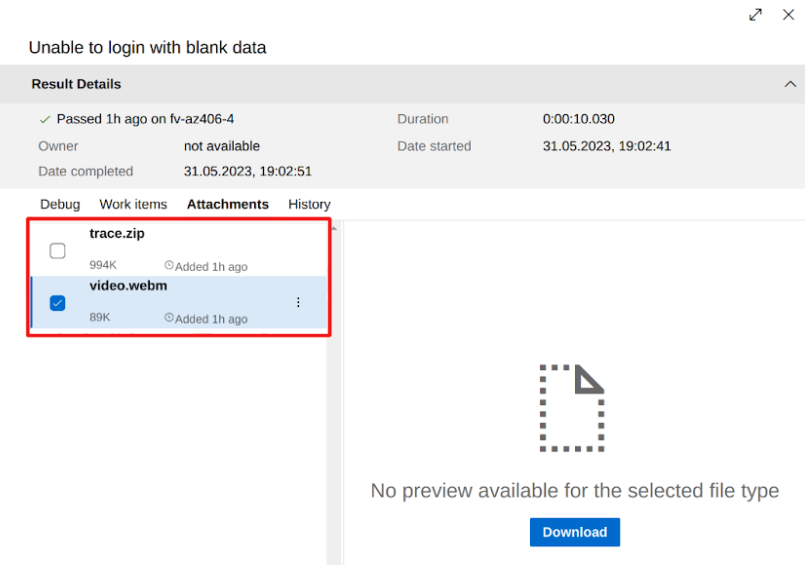
- You can download attachments from a report for every single test (videos, screenshots, trace logs)
Cons:
- You can not download all attachments for the entire report in one click, only one by one
- The logs that describe the reasons for the failed test are still clear, but not as detailed as in JUnit
Conclusion
In this article, we have explored how to quickly integrate some of the possible Playwright reporters. We learned about Playwright reporter’s pros and cons and understood the difference between Build and Release Pipelines in Azure DevOps. By following the outlined setup options, you can get nice Playwright reports.
