1st Comparison
So now that you understand baselines, let’s go ahead and actually test one to see what happens when a page may or may not have had some changes.
So in this scenario, I’m actually recreating a situation where you might have been at work, and you might have already done some visual validation, and recorded a baseline for your page, and maybe you guys made some updates. And as a result, there were some changes to the page.

Image source: https://media0.giphy.com/media/JFawGLFMCJNDi/200_d.gif
Now the questions are: how does the visual validation using Applitools work? How does it capture those changes? And then what do you do in regards to those changes.
So here I’ve created a test method called test baseline. You can see that it does everything as we used to do before. However, before doing Applitools open and Eyes.CheckWindow, what I’m doing is actually updating some elements. I’m hiding this method from you right now because I don’t want to show you what is actually gonna change about the page.
I’m actually using some JavaScript in order to update the page in a real-time rather than recreating a brand new page to fake a visual discrepancy. I’m just updating it using JavaScript. And I want to see if you’ll be able to notice it. And then after, of course, I will show you how I did it.
So what we’re gonna do here is we’re gonna go ahead and execute this test and I’m just gonna come here click this and say run.

And then what that’s gonna do is use everything like it used to do before except the only difference is this UpdateElements method.

That’s going to do something different that wasn’t on the page before.
And again I want to see if you’re able to notice that because the purpose of automated visual validation, right, is it’s supposed to make our lives as manual testers in as any kind of tester easier because it’s supposed to find all of the problems for us in an automated manner.
So now as you saw the tests that are finished, let’s go ahead and look at Applitools. And what I’m gonna do here is refresh this. And as you can see now, what has happened here is we have this batch called Test1 that has an unresolved in here. And this unresolved has a single test. You can see the name is Test1.
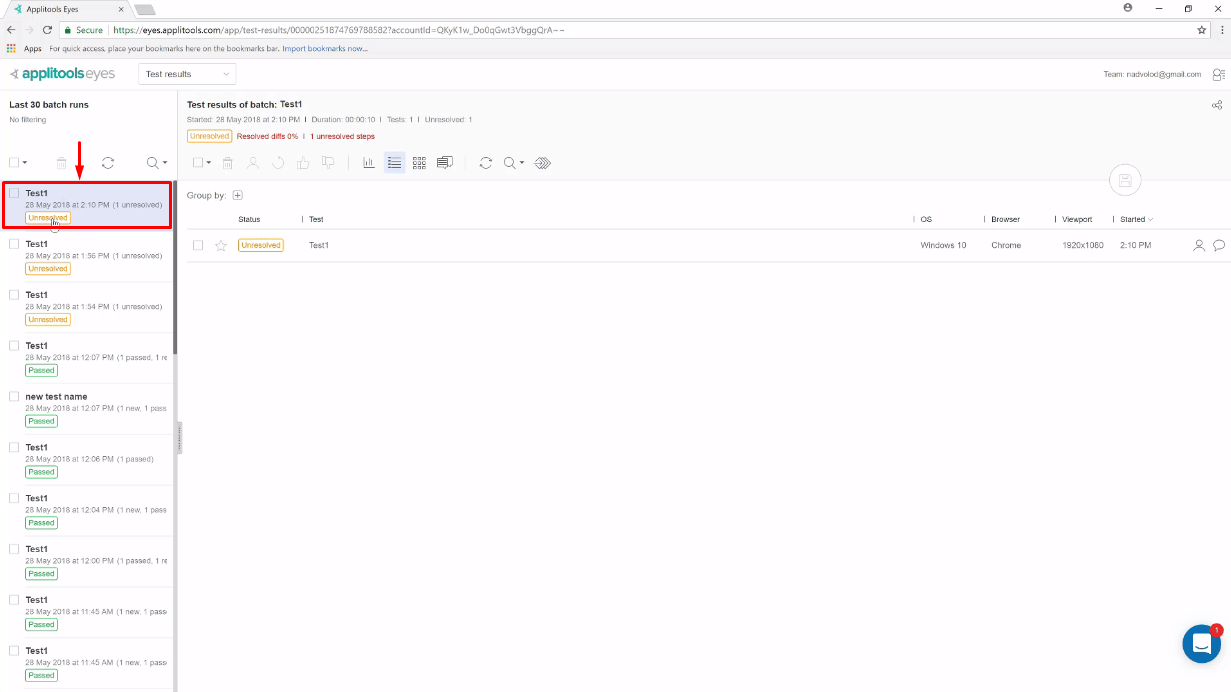
And here is the status. We can go ahead and open this up. And you can actually see that there is a preview here that kind of shows you what may have happened.
 You can even play with this image. And we’ll get more into this in a second but the preview is not that helpful with the best way to look at it is in the full view.
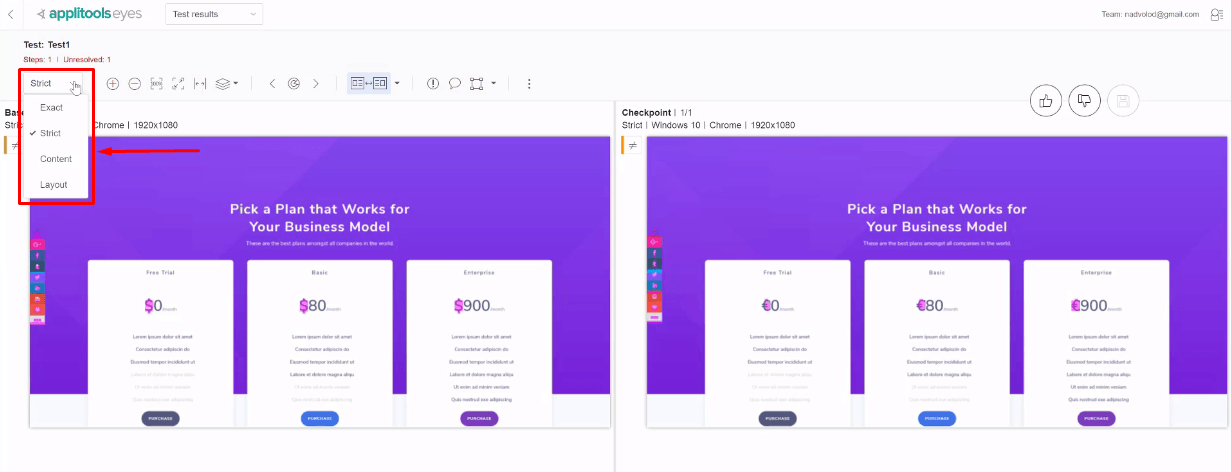
And when this is opened in the full view, you can see that on the left-hand side, we have the baseline.
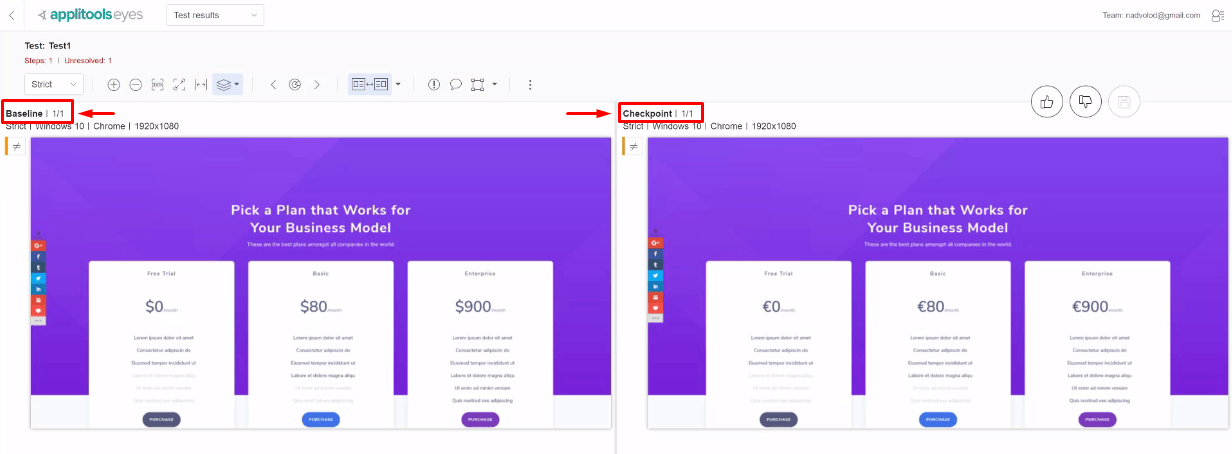
This is what we originally had said when I was showing you how to set the baselines. And over here, we have a checkpoint. This checkpoint is the test case that was just executed and my question to you is, “Are you able to detect the visual differences between the two pages?
Now the preview, actually that you might have seen, may have already helped you to determine it. But if you didn’t catch it in the preview, that’s great. But if you can see it, these are actually some pretty easy differences to spot.
What we can do here is put these images one on top of another. So using the S key, I can put these images one on top of another. And then using the D key on the keyboard, I can turn on the differences. So D for differences!
And you can see now everything is highlighted in purple that is now different. I can also use the T key for tab to tab through the checkpoint and the baseline and see what has happened.
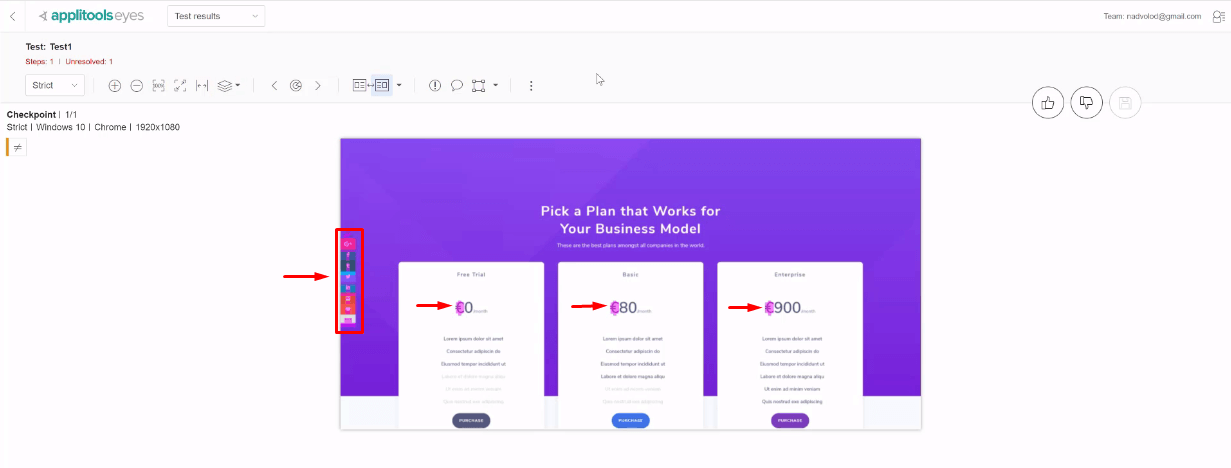
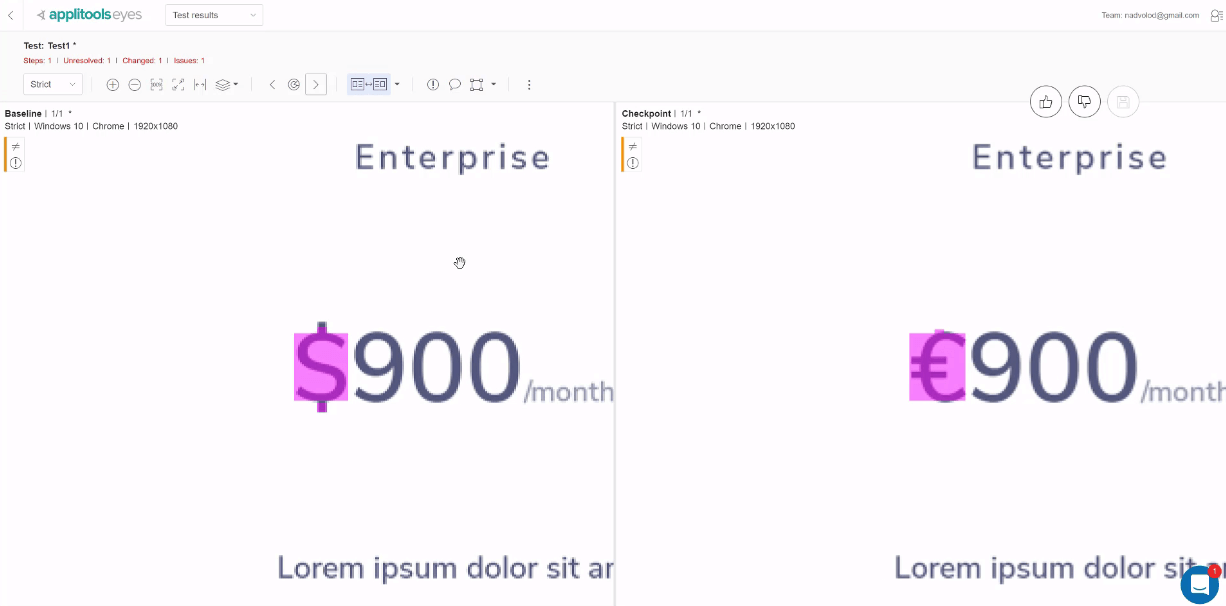
So look if I hit tab, you can see that we can see the changes here that have occurred. So the change that has occurred is actually a very common visual validation error.
So we’ve now replaced our dollar sign with euros. And so now this may have occurred because we’re trying to update our European page. And instead, we updated our American page by accident. And so obviously that’s a problem!
And so then, this can be pointed out as a bug or if we were actually designing this for a European page then we may have fixed a bug. And this may have actually been an acceptable change.
So that’s for us to decide! But now you can see how Applitools actually works and how it detects the differences and it shows you all of the differences that occurred.
We can actually see over here! There are differences as well. So if I tab through this you can see what has happened is actually our this toolbar has shifted down a bit but that is not a worry for us. We can actually deal with this and I’ll show you how to deal with this in the future.
Zooming, Resizing, and Layers
So while we are in the Applitools user interface, let’s go ahead and take a look and better understand what’s going on here.
So this view that you see here is actually a test results view. What it’s showing you is a single test that is being compared to a baseline.
So up here you can see that there is a property called test and then over here is specified the test name. You can also see that it’s showing that we had one step in this scenario and one unresolved step.

So actually you may have multiple steps in here that you could navigate using these features down here. If you don’t have it at this point, then I’ll show you later. But right now we just have a single step and one step that is unresolved because we didn’t choose what to do about this failure yet.
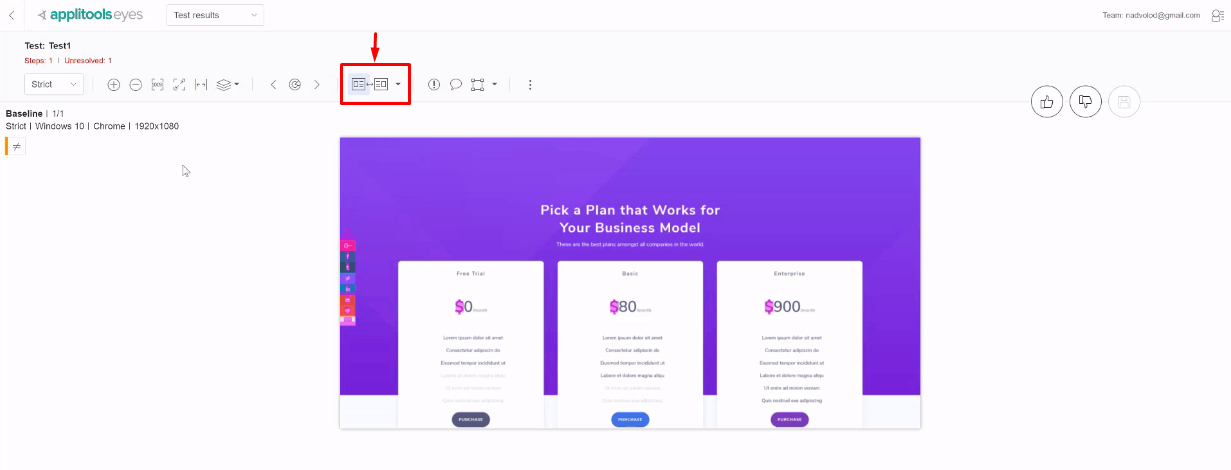
Over here you have different match levels.
 This is actually a more complicated topic that we’re going to cover in a couple minutes. I want to dedicate a separate video to it. So we’ll tackle those in a second.
Zoom Buttons
Over here, we have different buttons for zooming in and zooming out.
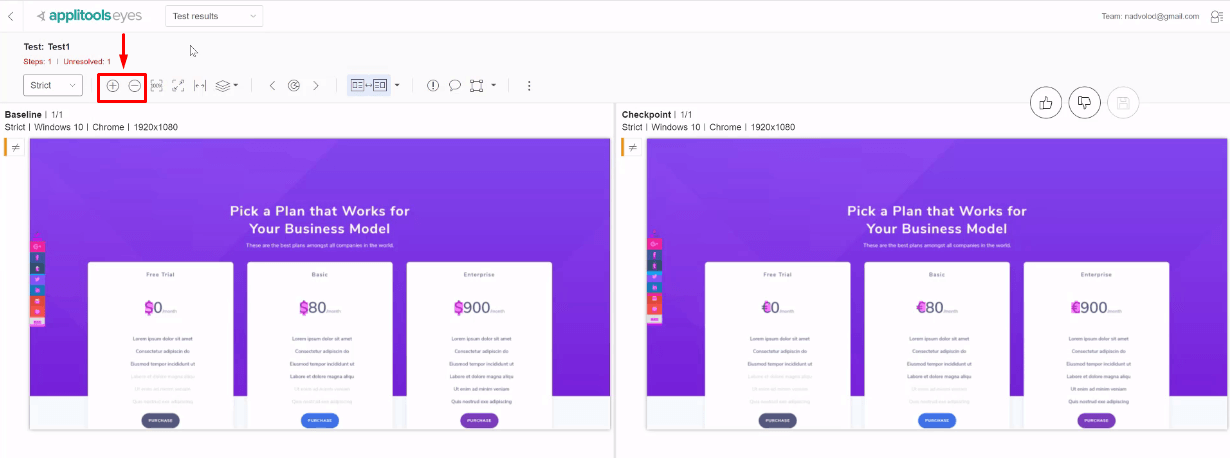
So if you want to zoom in on a certain area, for example, you want to see actually what happened sometimes, right, Applitools may catch something that you’re not 100% sure why it changed.
Because Applitools has a very automated smart algorithm, you may need to zoom in to see what has happened. I’ve seen changes where, for example, the text has changed a little bit. Maybe this letter has gone from something from 12 size to an 11 size.
And so visually, you can see it but it’s very hard to see unless you zoom in. So you can double click to zoom in on something. And then if we put something on top of one on top of each other, we can see what’s happening. And here it’s very easy to see.
But there might be other examples where it’s harder to see. So that’s when you can use zooming in. You can even use your mouse to grab hold and drag around different elements to see. You know, if you can and see other failures here, tap through those as well. And of course, you can zoom out if you wanted.
There you go!
So then, there are these other buttons.
Resize Button
So here you can actually resize the image to its original size.
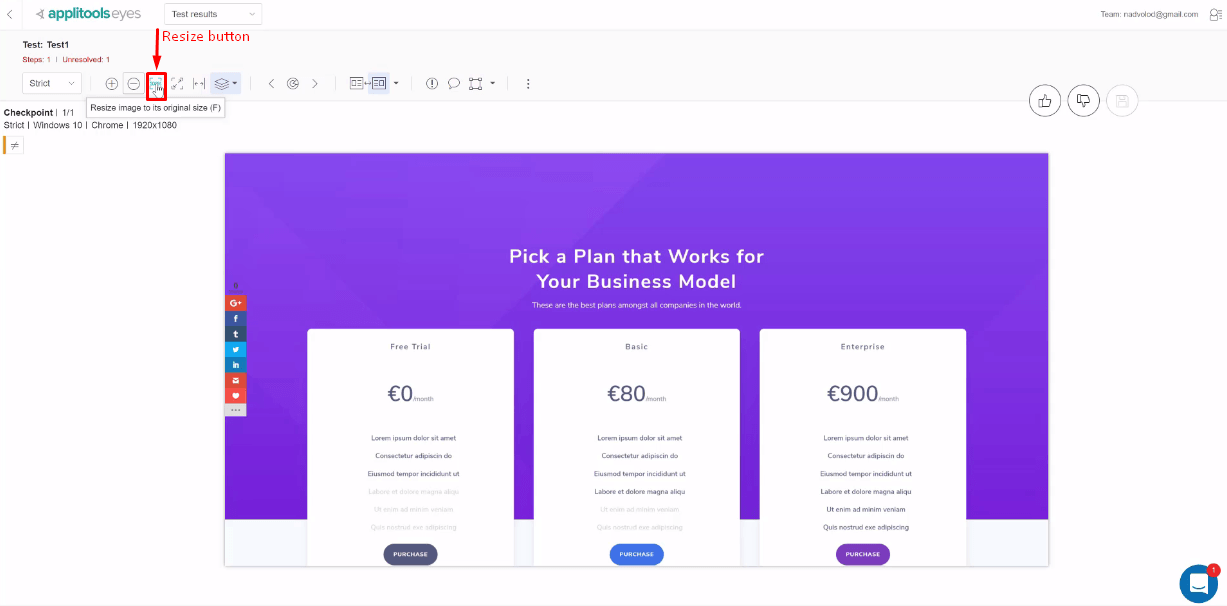
So if I hit that, it’s gonna be a huge image 1280 by well 1080p resolution. You can see that that’s here. And I see very large images on very large screen resolutions. Usually, this is not the option that you want to use. Usually, you may want to use it for smaller.
Maybe if you’re running on a mobile device, you can use this feature. But I rarely use it on the desktop. Then you can resize the image entirely to fit the screen. So you can hit this button and the whole image will actually fit the screen. This is one of my favorite features.

And then in the parenthesis, you can see that if you push F, that will also happen. So for example, if I hit this and then I hit F, it will resize to the full screen or it will toggle between 100% to fit the screen. And then this will entirely fill the screen. So it’s pretty close to this which is the original size. But this will fill the screen.

So this is the original size and this is filling the visible screen a real estate here. And as I said, this one is my favorite because you can see the whole image. And if I want to place the two images side-by-side and then I can resize them to both fits.
And now I can see both images side by side right next to each other totally filling the whole screen.
Layer Buttons
So next you can see there are different visible layers.
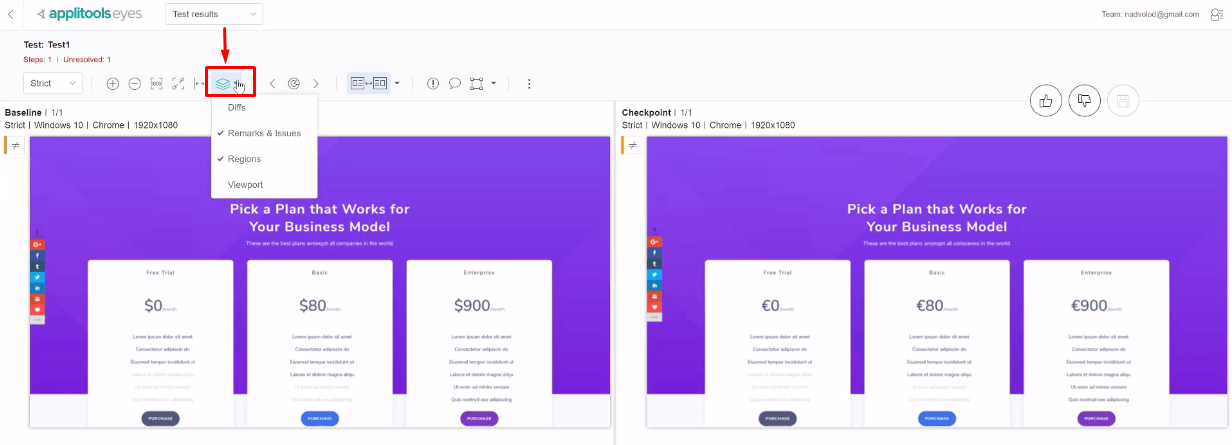
So you can turn on the Diffs by pressing this. I’ve also been doing this with a D key. So D to turn it on and off. You can toggle like that. Then you can see Remarks &y Issues which we currently don’t have any. But if you wanted to see some remarks and issues, you can add a region indicating bug or an issue.
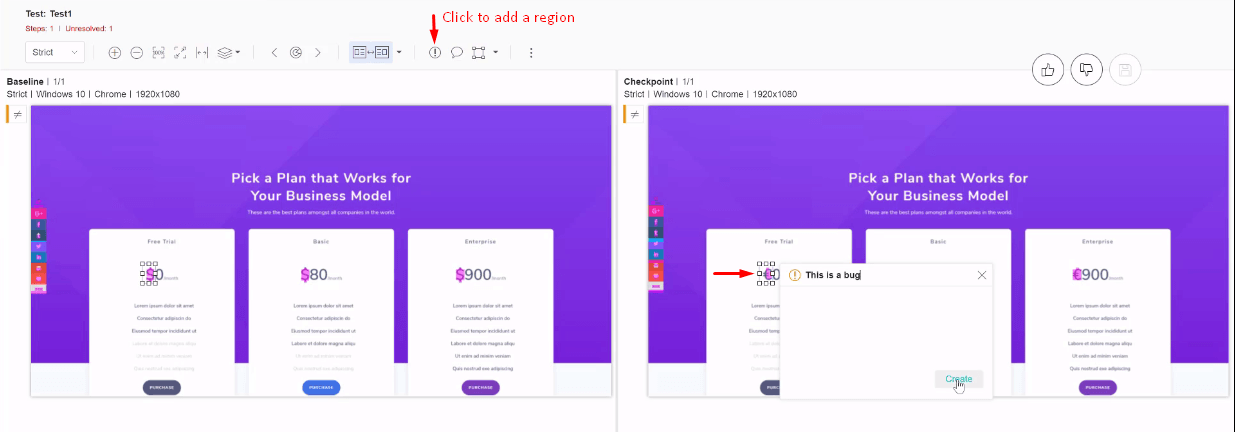
So for example, let’s turn on our Diffs. And we see all this should not have happened. So what we can do is highlight this area and say this is a bug. And now we can create this and we can say to fail the tests. And now this will be here failing this test.
And if you wanted to add a remark here, you can add a remark and say this is OK. And now we have a remark! So if you have these layers turned on, you can turn them off using this. And there are also regions that we can turn it on, on and off. And here’s the viewport size which gets highlighted like that
Toggling and Floating Region
Now, this next feature over here is a way for us to highlight the differences.
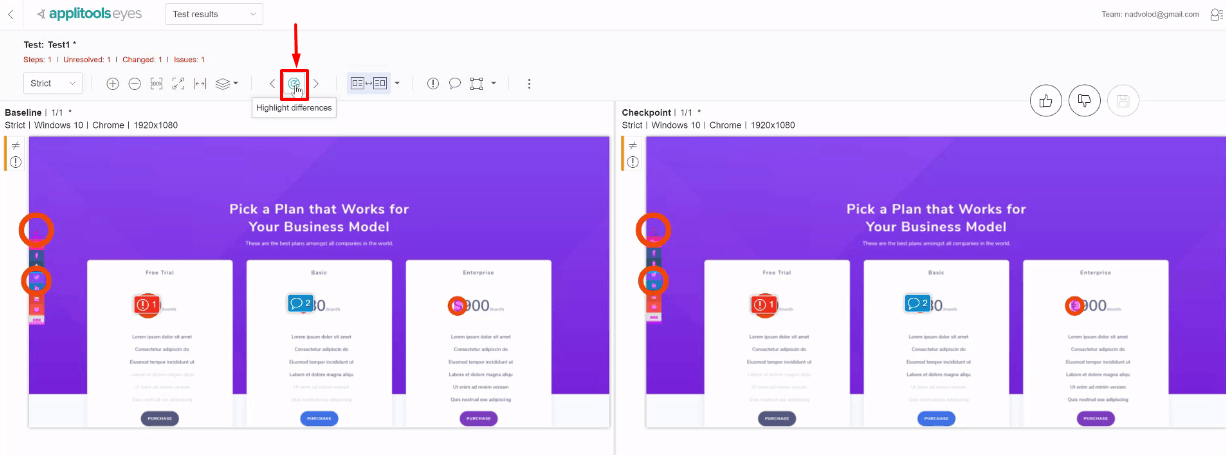
So for example, if I click it, what it’s going to do is, it’s going to highlight all of the differences that it has found. So you can see in this case it highlights all of them. And we can actually zoom in on different differences by doing pressing this error or you can use the period.
So now it’s showing. Look here and here. This has changed.

You can see that a bunch of stuff here has happened. And it’s because we already saw. It’s because the elements have shifted. So it’s showing us all the differences. And now it’s showing us the differences in the different dollar denominations, in the different money formats.
So that’s a very nice feature if you want to be able to easily spot all the differences on the page.
Toggle Feature
Next, I’ve already shown you this but this is if you want to toggle between the checkpoint and the baseline images. So you can obviously click this. And if you click it, it will just toggle.

So now we have the checkpoint which you can see over here on the left-hand side or we have the baseline. And you can toggle baseline checkpoint and so on and so forth. You can see the shifts.
As I showed you, this is a very easy way to determine the differences. So a lot of times, I like to turn off the Diffs using the D key and then toggle between the differences. And it allows you to easily see what’s going on.
So look in this example, you can easily see that this is exactly what has happened.

I’m ready to show you this bug or issue that’s being indicated here.

And what you can do is, I showed you can fail the testing, you can comment here, and you can work with the team.
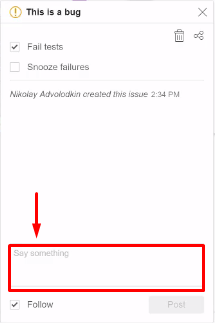
We’ll get into that more in a little bit. I showed you how to add a remark if you want to add comments.
And now we also have these regions here. These regions allow us to modify basically our baseline to handle certain situations in different ways.

Remember, I told you that this has shifted.
And as a result, it caused us to fail right these areas. Over here are in ok failure but this over here is something that we expect. And so, we don’t want it to cause a false positive whenever our tests are executing, right? This may shift by a little bit.
The Floating Region
So what you can do here is add what’s known as a floating region.
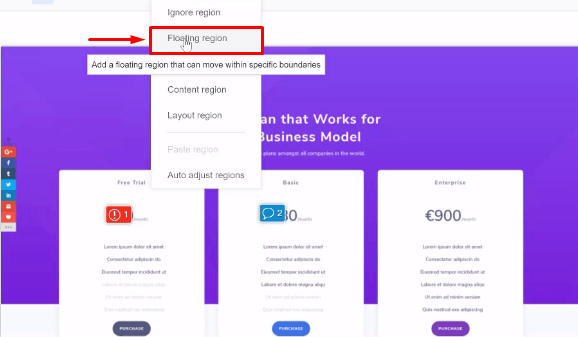
A floating region allows your element to move within specific boundaries.
So what I’m gonna do here is come here. And I’m going to add a floating region that tells my Applitools that hey this element inside of here can be moved up and down in this area by those dimensions.

And so now if I highlight the differences you’ll see it doesn’t really highlight it. So if I point all the differences out now it only points out the three differences.
And so from this point forward, if I leave this as is, what its gonna do is now whenever this test runs, if this toolbar, if the share bar shifts in any way, it’s actually not going to care and everything is going to be ok as long as nothing else on the page changes.
Your Takeaway
So with all that said, what is your biggest takeaway in this post? Let me know in the comments below.