Today I will show you how to record your first automated web test with the latest automation tool called TestProject.
TestProject is a community powered tool used to automate mobile and web apps. Continue watching and I’ll show you how to create an account, record your first automated test, execute that test and then analyze the results.
Let’s go! Let’s go ahead and get you started with TestProject.
How to sign up for TestProject
The very first thing you’ll want to do is obviously sign up for an account, you can go to testproject and you’ll land on their website. Then, you’ll see over here there’s a “Request Free Invite”.
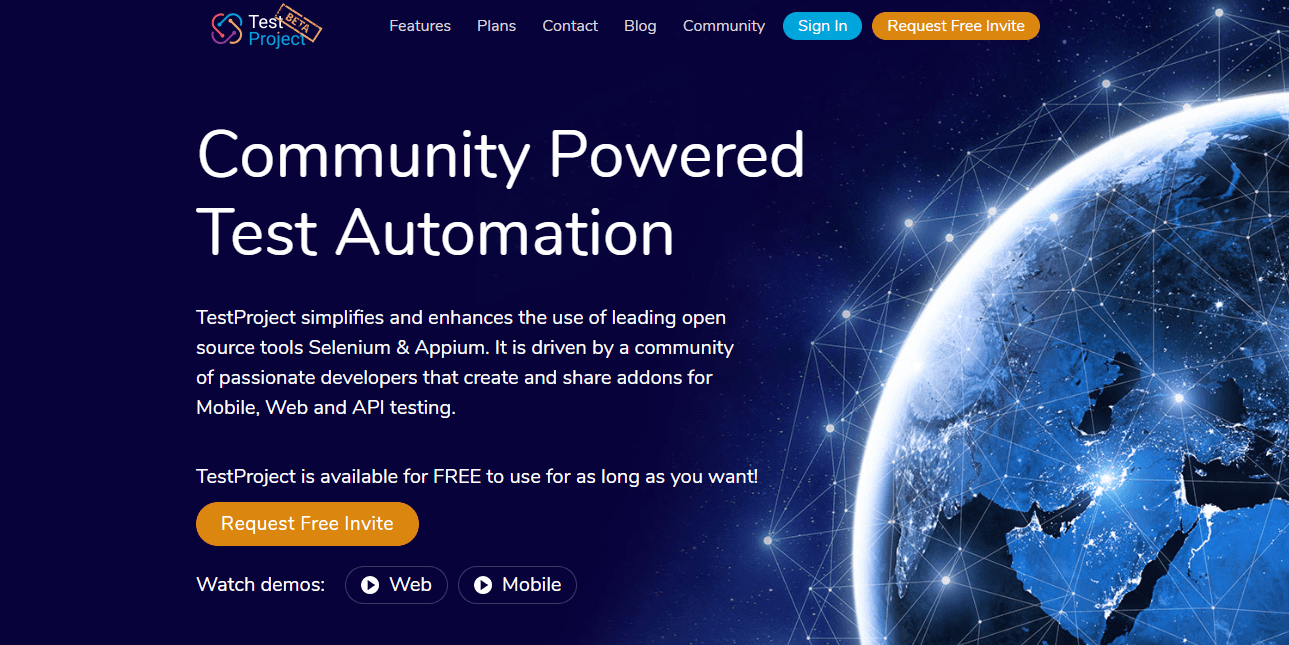
At the current time of recording, TestProject is still in beta so you can just create an account. You have to request an invite, but they’ll send you an invite, no problem. Once you click that button, you’ll be taken to a form that looks like this.
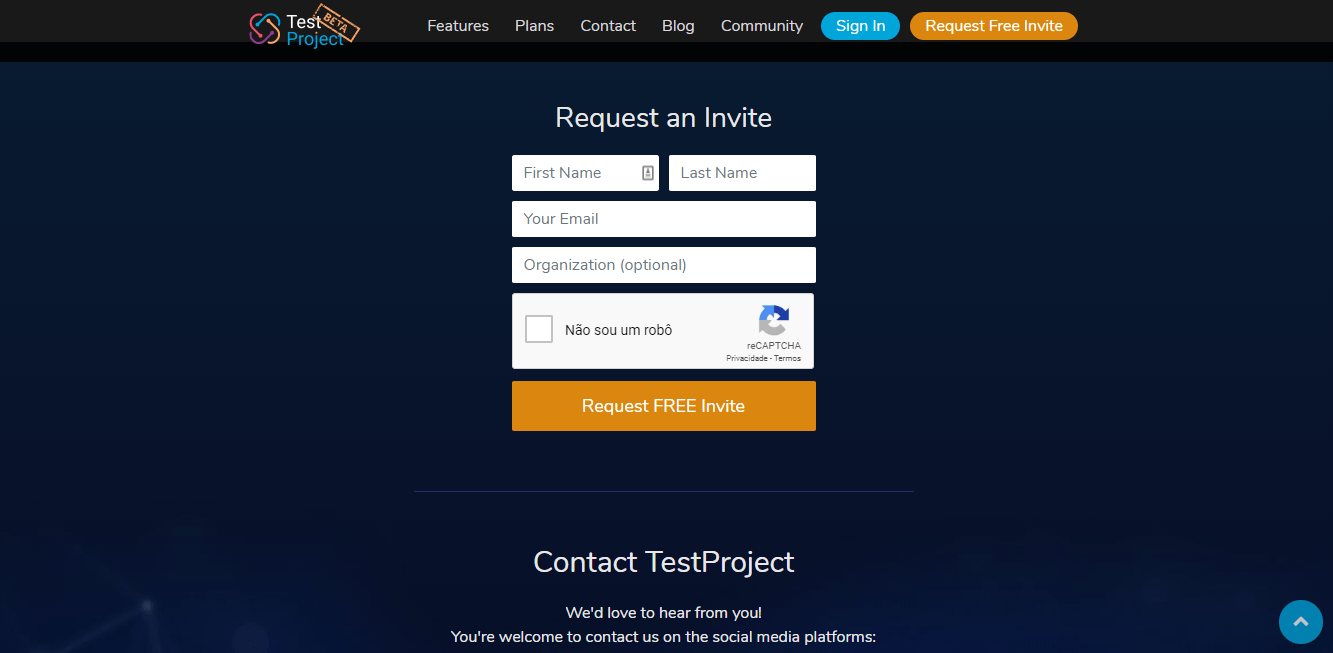
Simply just fill it out and then they’ll send you an invite request. So that you can use the beta version of TestProject. Once you have that invite, you’ll be able to go ahead and sign in just like normal, simply by clicking the sign in button and providing your credentials.
TestProject dashboard
If this is your first time logging in to TestProject, what’s actually going to happen is you’re going to have a little tutorial that takes you all through the TestProject user interface and shows you how to use different features. It’s a couple minutes.
However, since I’ve already logged in before and have gone through that tutorial. I don’t have that here, but what I do see here is a dashboard that you’re going to see after your very first login. After you go through the tutorial, you’ll have a dashboard that looks just like this.

You’ll see a recommended add on here and a bunch of other add-ons.
Add-ons are a unique feature of TestProject and they can be developed by different automation engineers to help improve test automation. Basically, think of them as reusable components for your test automation that can be used and created by the entire community. So, really utilizing that open-source concept where everyone contributes to making better test automation.
Then, there are a bunch of other tabs that we’ll explore as we continue through this tutorial. Then, over here on the right-hand side, you can see the recent activity. This is everything that I’ve been doing over here and the tests that I’ve been running. The jobs that I’ve been executing and so on.
Then, down here, we can see my projects. The very first thing that we’re going to do actually is we’re going to get you started on a brand new project. So, that we can learn how this test automation tool works.
Starting a new project
I’m going to go ahead, click here, add a new project. I’m going to give this a name. Let’s call this. And, you can organize the projects based on your project so, for example, if you’re working on some application then think of that application as your project.
So, we’re going to be working on “ultimateQA.com” so that’s going to be my test project. I’m going to go ahead and create it.

So, now you can see here we’ve got our project area. This is basically where everything related to that project lives. Over here, on the left-hand side, you can see this pane where there is a test pane. We can create different folders to organize our tests.
There are test packages, elements, applications, data sources, and parameters. The very first thing I want to do is create a new folder that I’m going to call “Smoke Tests” because we’re going to be creating smoke tests for my web application.
Adding tests
So, now that this folder is created, we need to add some tests. You can add tests by clicking this button or you can click here to create a test. By the way, over here, on the right-hand side, you can see a “Jobs” menu. This is where we will be able to really automate our test cases by including them in jobs.
The jobs will be able to run on different time intervals. I’ll show you that in a little bit. But, in the meantime, let’s go ahead and get started with a simple test case.
I’m going to go ahead and click “Create a test” button. Now, you have multiple options here that you can select from. You can run it on mobile applications, right? Android and iOS. You can do a web test which is just using a standard browser. And, you can upload different test packages.
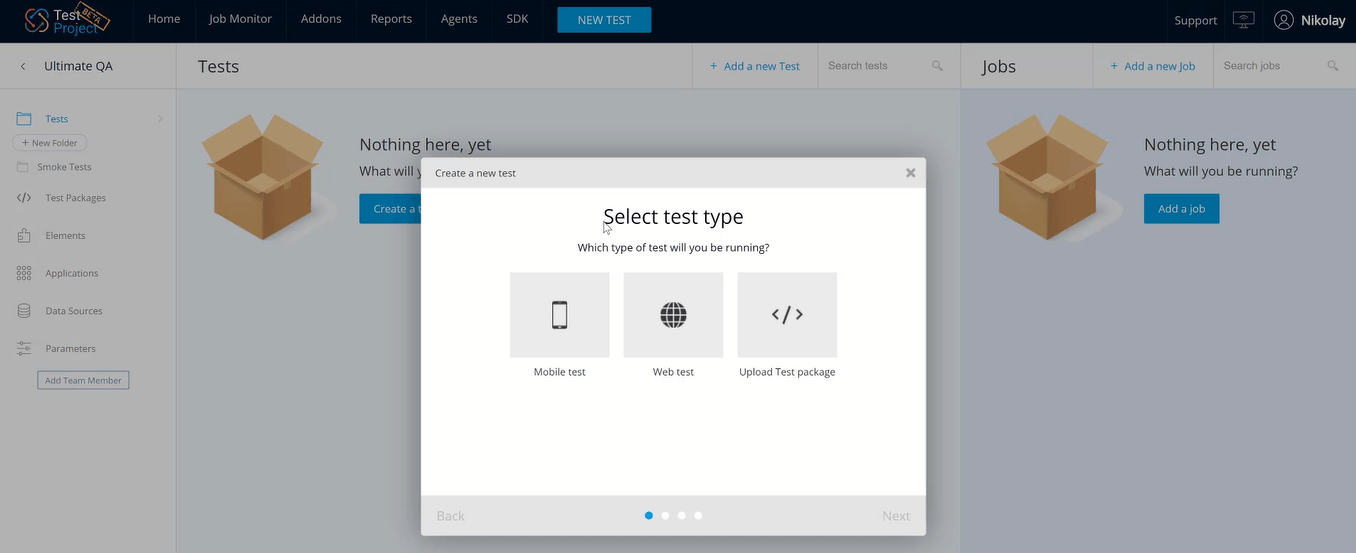
I’m actually going to go ahead and do a web test. I’m going to go ahead and hit “next”. Let’s give the test case a name.
Now, I want to emphasize something extremely critical. Just because we have a recording tool, that is not an excuse for us to record everything there is. We still need to follow test automation best practices. I’ve seen many individuals that, when they get a recording tool, they think that, now, it’s a license to basically just try and automate 100% of everything.
The worst thing they do is try and create giant recorded automated tests that never ever work or succeed. In my entire career, since 2007, I’ve never seen a recording tool be able to work on a massive giant test. Instead, we’re going to follow test automation best practices, keep ourselves very atomic and very focused.
Learn about automation patterns and anti-patterns here.
So, what I’m going to do here is create the very first smoke test and think of the important functionality that is useful for me to automate.
For our application under test here which is ultimateQA.com, for me, one of the very important features is yes to make sure that the page loads. But, I also want to be sure that this “Start learning now” button works and it takes me to the correct location.
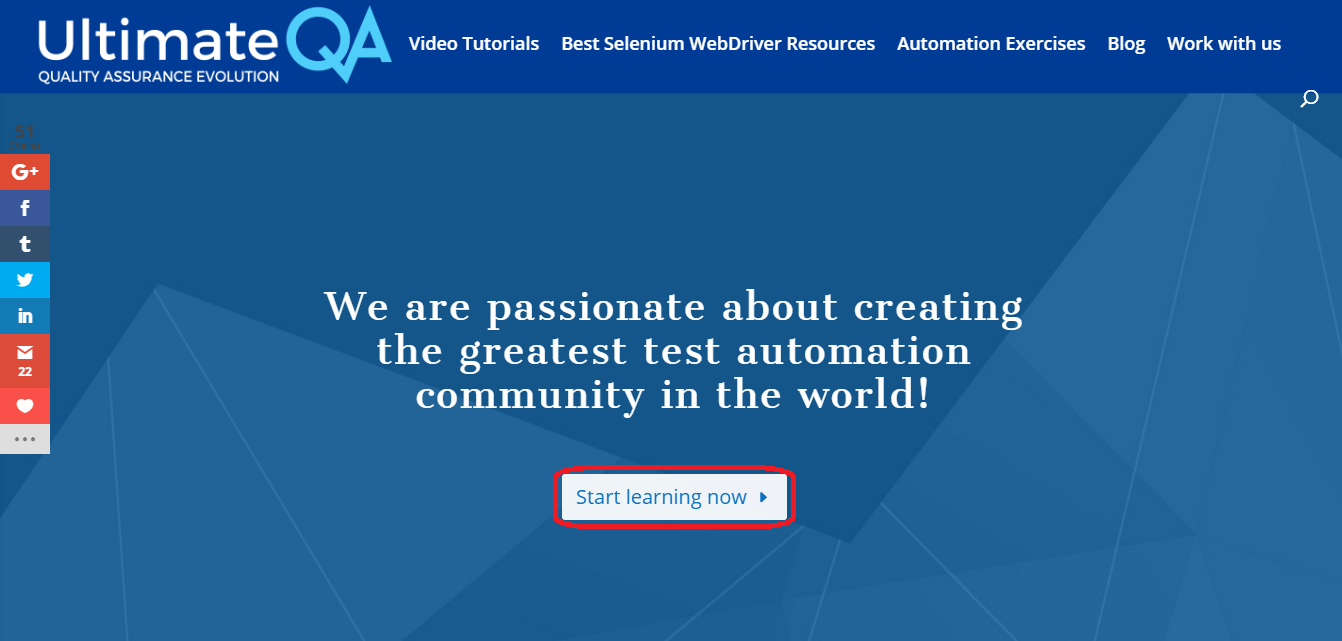
That’s going to be a very important feature that I want to test. I’m going to say, so, that’s going to be my test case.
Now, we need to select a web app. Because we’ve never added any web app and this is our first time here, we’re going to need to add a new application for testing. Once we create this new application, TestProject will know about it and we’ll be able to use it to the rest of the project.
I’m going to call it “Ultimate QA” and then we’re going to provide it a URL. Now, you can see that I can select it and it’s already here selected for me. Then, we’re going to go ahead and click “Next”

Now it says that: “Our local agent is disconnected. Recording is disabled. Please start your agent. You can also choose to design your test manually”. If you want to record it, we need to get an agent. I’ll show you how to do that next.
Getting an agent
To get an agent is very simple. That’s one of the things that you will notice about TestProject as you’re using it. A lot of the navigation and the usability throughout the TestProject user interface is pretty straightforward.
What you can do is come here and go to “Agents” and you can actually select an agent to you. So, you can use it for Windows, Linux or Mac. I’m going to go ahead and select Windows because I am on Windows 10.

This agent is going to download and then we’re going to go ahead and install it. I’ll be back whenever it’s installed.
Here’s the executable, I’m going to go ahead and click the executable. Now, it is going to take me through the installation process, so yes I’ll let this app make changes to my device. Now the agent is going to install, we just going to go through the installation wizard.

We’re going to agree here. Now it’s going to go ahead and go through the installation process. Just so that you don’t fall asleep, I’ll come back whenever it’s finished.
When the agent is finished installing, you’ll come to a window like this. I’m going to go ahead and say “Start Agent” so that it starts running in the background. Let’s go ahead and allow access to the agent so that it can talk to the Internet. Now, we should all be set.
You can basically think of an agent as a little environment, almost like if you’re familiar with Docker Container, you can consider it as a container, but it’s running on your actual local environment, on your local hardware. It’s able to execute all of the tests that you want to execute like on android, iOS, web and so on, all the different kinds of browsers.
So, instead of you having to set up your own environment, right? Installing your own Chrome drivers and Firefox drivers, Safari drivers and whatever, plus all the other resources. The agent does all of that and it will execute your tests that live inside the TestProject user interface.
That’s why we need an agent and agents are very helpful for TestProject.
After you’ve installed your agent, what you’re actually going to need to do is register an agent. So, I’m going to go ahead and say this is my Windows 10 agent.
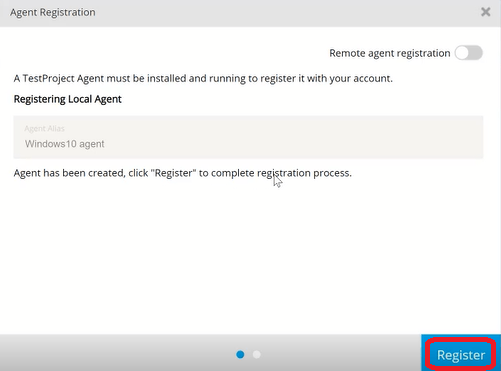
Now, it says that the agents have been created and click “register” to complete the registration process.
Now, it’s going to go and register the agent that I have on my local machine and you can see that it happened successfully. So, now, it’s going to finish to complete registration.
After it’s registered, I am now going to have two agents because I’ve actually created a previous agent that I’ve been using on my Mac and now this one is being used on my Windows 10. Once the agent finishes registration, I will go ahead and come back here and show you how to proceed.
Now that we finally have an agent and it’s in idle status, we can finally create a new test.

I’m going to go ahead and say “new test”. It is going to be a web test. Select my web app which is now available since we’ve used it before.
Recording a test
Now, I’m going to have the option to record a new web test. So, I’m going to go ahead and click “Record” and a new browser window will be opened after I’m done. I’m going to go ahead and say “Finish”.

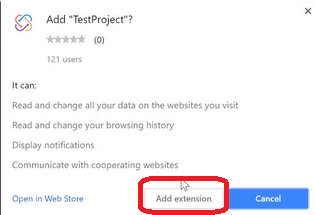
So, you can see that our agents pulled up a brand new Chrome window but what it says is we’re missing a TestProject extension to start recording. We’re just going to go ahead and need to install a TestProject extension into our browser.
I’m going to go ahead and say “Add extension” here. Now that our TestProject extension has been added to Chrome, we’re going to be able to record our tests.
You can see that TestProject has opened up a brand new Chrome browser here. It has some stuff up here at the top.
Over here on the left-hand side, you can see the recorder. It’s going to show all of the steps that happen as we perform actions.
I actually just close the pop-up. I’m going to go ahead and delete that step because that’s not necessary, So, as we perform actions on this page, the recorder is just going to record the steps on the left-hand side as you’ll see.

Watch! I’m going to click this “Start learning now” button. It’s going to open that up. Now, we are at this page here and this is the correct page that I wanted to see. Now, we just need to validate that this page has successfully been loaded.
You can see whenever I hover over any element, we get this black box surrounding it. That’s TestProject. In my case, it’s good enough to validate that there is this signing link present. We can come here and do a validation to check and see if this element is present.
Now I can click it, you can see that we’re adding the step here. We can add some comments. We can set a time out for my application, five seconds is appropriate. If my application doesn’t load within five seconds, then there definitely needs to be something wrong.
Then on failure behavior, I want the test to fail. I don’t want it to continue, so I want my test to fail early and fail fast. So, I’m going to fail it.
Then, using test defaults, we’re going to change that to 5,000 milliseconds. Excellent! Now we’re going to create this step.

It’s going to appear in our record on the left. Here’s a validation step.
Now, our test is complete, we can go ahead and click “pause”. Now we can replay it to see how it runs.
Fantastic! You can see that everything was successful and our test was fast, it executed quickly and it’s very atomic and autonomous. Now it is ready for primetime.
What we can do now is close this window. We’re going to be able to see, go back to the TestProject and analyze
what happened there.
Here I am in the Ultimate QA project. You can see that now we have this test here that is called “Start here button goes to correct page”. You have all this metadata about it. The test now exists.

If you want to edit this test, you can click and start modifying the steps right here. Then, whenever you’re done, you can save and exit. If you want to execute the test you simply push the “Execute” button and then the test is going to execute. It is going to ask you for the agent, so we’ll do that, our Windows 10 agent. Then, we’ll execute it on Chrome.
Checking results and analytics
Awesome! So you could see that our test was successful. Now we can even look at different kinds of reports to see what happened.
If you want to check the results of a test case, you can come here click on these ellipses. You can see there are multiple options. However, we can see this Reports option which is very interesting. That will take us to the report of this automated test.
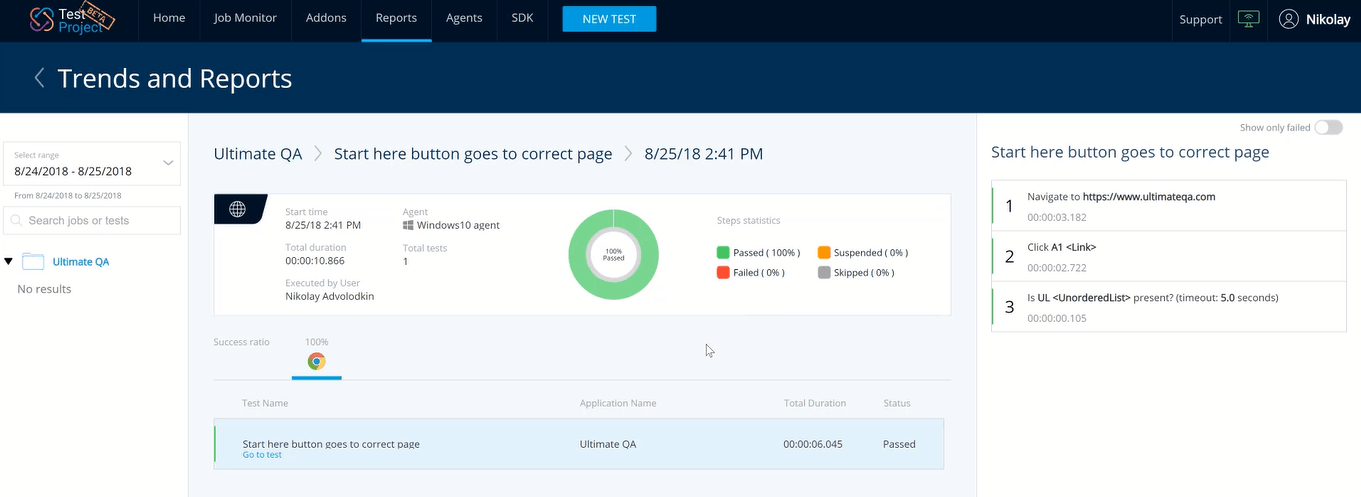
You can see its executions. You can see the data here, when the test was executed, how long the test took, and whether it passed or failed. You can see here we had a 100% pass rate. It ran on this browser. We can run it on multiple browsers if we wanted, which I’ll definitely show you later.
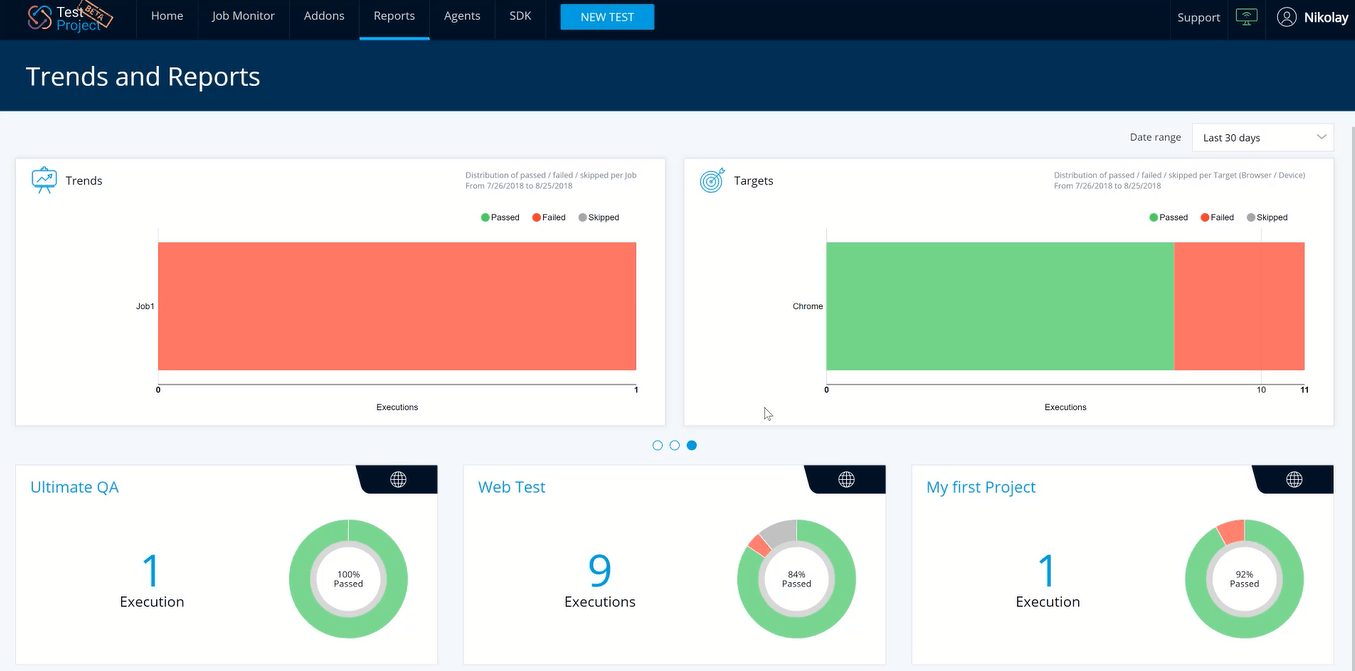
We can also see reports for the entire project, if that’s in this reports tab. You can see that there is this velocity graph that shows you when tests were executed and their test status. You can see down here the project and how many executions each project had.
You can also see different results, you can see that this distribution based on the agent. And, you can also see based on jobs and also based on browsers. All of my tests so far were executed in Chrome, but if you had other browsers, you’d be able to see it in other days.
These analytics are pretty cool for you to analyze and see what’s going on with your automated tests.
Now, the only other thing that’s missing here is, I remember I told you we were going to go ahead and create smoke tests. So, I just want to take this and drag it into the smoke test folder. So, that now, it is considered a smoke test and all of our smoke tests are going to live in here.

Before you go, remember I wanted to tell you about my favorite feature of TestProject.
Pricing Plan
Well, the favorite feature of mine is actually the pricing plan which is phenomenal, right? You could see all the capabilities that were available through TestProject, but look at this pricing plan, the free pricing plan is phenomenal, where you get up to five agents and you get to use these agents for the rest of your life.
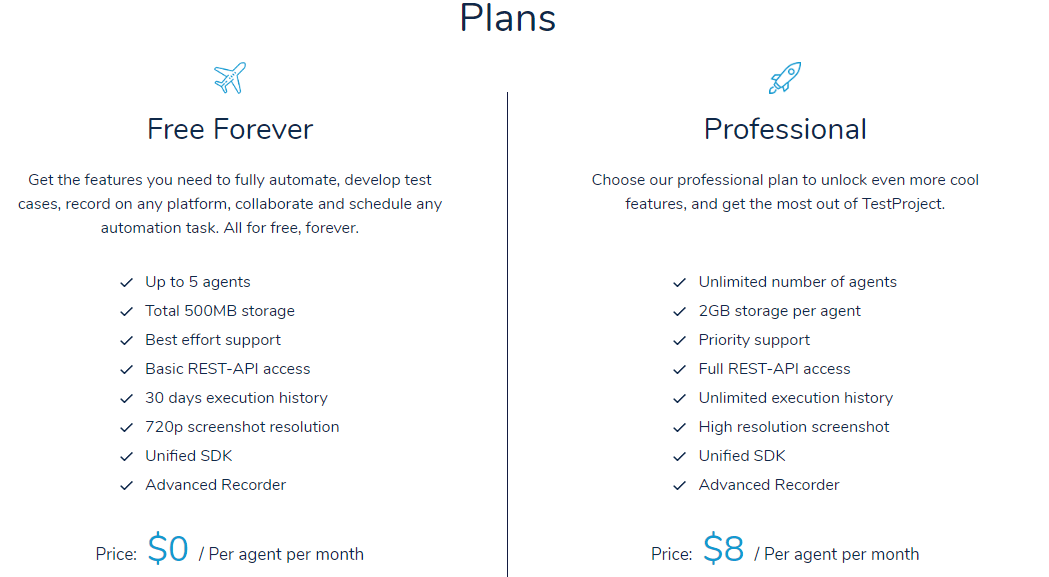
All of this is free forever, so really a small test automation engineer team, maybe a single test automation engine. You can use the free plan forever!
However, as soon as you want to start scaling up, and get more functionality. You can get full REST-API access, more storage, and a priority support. Unlimited number of agents.
Then, it’s only $8/per agent per month which is phenomenal pricing. It is super cheap compared to all other paid test automation tools, such as, you know, lean ft which can be up to ten thousand dollars per license. This is really fantastic! It’s a really cool tool that I hope you enjoyed.
Thank you so much for joining me today for this TestProject tutorial!

Hi Nikolay,
I’ve been following your course for a while and loved every single one, but this compared to your owning and creating an framework…. where does that sit with you?
I see value more so with test project for quick out the box project where time is tight with the capabilities of more as they do allow custom code etc.., but feel owning and creating your own framework gives you so much more freedom and knowledge, where you can grow as an automation engineer
More of an interests to your view as i didn’t think you where too keen on record and play back